Curious About 3D Nail Art? Here’s What You Should Know
3D nail art is more than a trend—it’s a creative way to express your unique style. This gentle tutorial is perfect for beginners who want to try sculpted nail designs at home using organic tools and non-toxic products. From prepping your nails to adding charming 3D details, you’ll learn everything you need for a safe and stunning manicure.
FAQ: Common Questions About 3D Nail Art
1. What Exactly Is 3D Nail Art?
3D nail art is a creative nail design technique that adds sculptural, raised elements to the nail surface using gel, acrylic, pearls, and crystals.
2. Wondering Which Nail Shapes Work Best for 3D Designs?
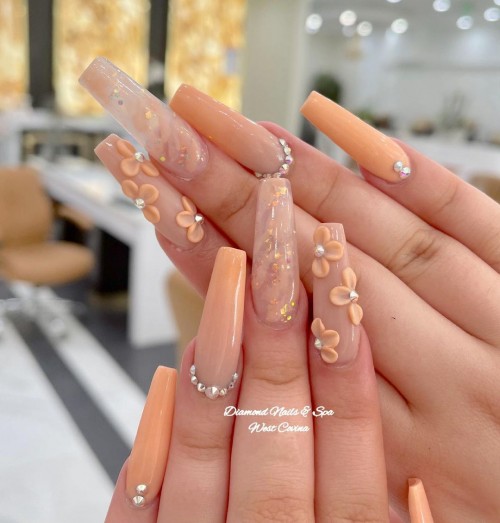
Almond, oval, and coffin nails are ideal for 3D designs, providing a smooth canvas for layering decorative elements.
3.Bold 3D Nails or Simple Chic? Let’s Compare Your Style
Do you love bold, glamorous 3D nails or minimalist looks? Let us know—or explore more inspiration in our 3D Nail Art Gallery.
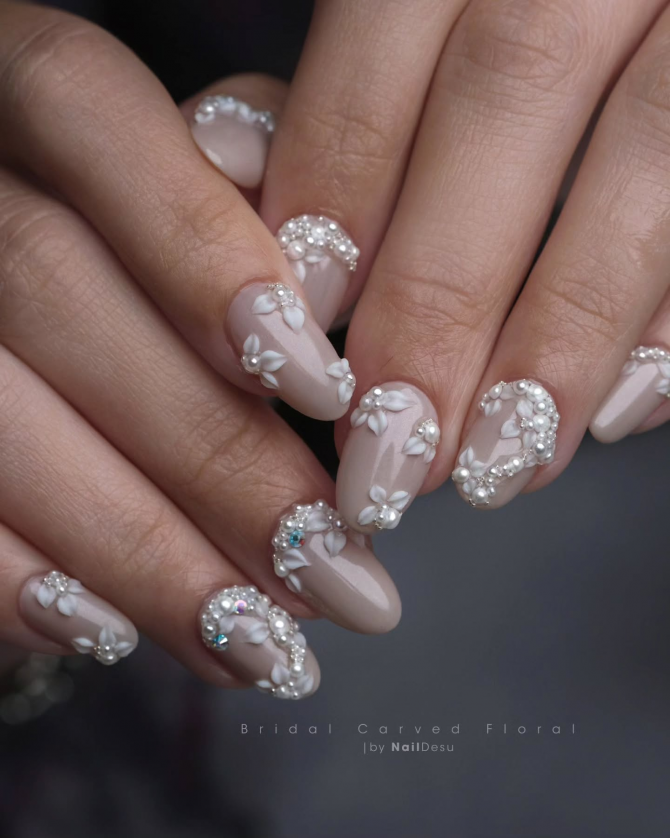
This is a 3D Nail Art Tutorial example featuring winter-themed pink gel nails with pearl wreath charms and snowflake accents.
3D Winter Pearl Wreath Nails with Pink Gel and Snowflake Accents
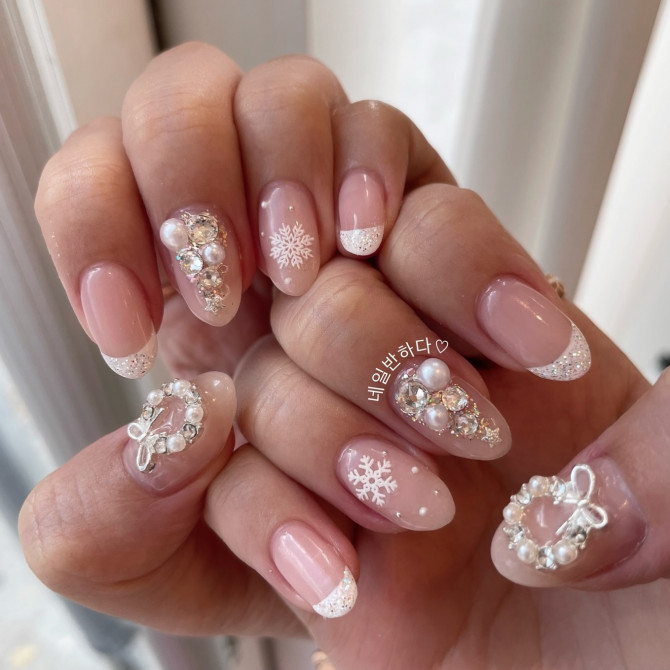
When you’re ready, let’s begin this 3D Nail Art Tutorial and create your own version at home.
✨ Ready to Try 3D Nails? Start Here First
- Your Nails Must Be Healthy: Avoid 3D nail art if your nails are weak, peeling, or thin.
- Clean Nails = Longer Wear: Use a non-alcohol organic cleanser before applying any product.
- Plan Your Design: Sketch or visualize your nail layout beforehand.
- Work with Patience: Cure each gel layer properly before continuing.
- Good Lighting Helps: A well-lit area helps with placing small 3D elements accurately.
️ What You’ll Need to Get Started
- Base coat & top coat (non-toxic)
- Builder gel / 3D gel
- UV/LED nail lamp
- Detail brushes & dotting tool
- Pearls, rhinestones, bows, snowflakes
- Organic nail cleanser & cuticle oil
Step-by-Step Guide to Creating 3D Nail Art at Home
1. Prep Your Nails
2. Apply Base Coat & Color
Apply base coat and cure. Then use pink or nude gel polish in two layers, curing each one.
3. Create 3D Designs
4. Add Decorations
5. Seal with Top Coat
Apply top coat without covering raised designs too thickly. Final cure to finish your 3D Nail Art Tutorial.
Aftercare Tips to Keep Your 3D Nails Beautiful
- Avoid hot water and cleaning chemicals for 24 hours
- Apply cuticle oil twice a day
- Wear gloves when doing chores
- Do not use your nails as tools
How to Remove 3D Nails Safely (and Recover Naturally)
- Soak nails in warm olive oil and lemon for 15 minutes
- Remove embellishments gently with a wooden stick
- Buff lightly and moisturize with jojoba or nail oil
How to Make Your 3D Nails Last Longer
- Reapply top coat every 7 days
- Use strengthening serum between sets
- Give nails rest time between full applications
Final Thoughts on DIY 3D Nail Art at Home
3D Nail Art Tutorial is a creative and rewarding way to express yourself. Whether you’re new or experienced, this tutorial lets you explore your style with confidence. For more ideas, visit thebestacrylicnails.com.
Looking for more stunning 3D nail ideas?
- Explore over 50+ Stunning 3D Nail Art Designs
- See more 3D Nail Designs
- Discover creative 3D nail ideas
Love these 3D nail styles?
Save your favorite looks to Pinterest, try them at home, and tag us with #3DNailArtTutorial for a chance to get featured on our page!
Thank you so much for joining us on this 3D nail art journey! We hope this step-by-step guide inspired your next DIY manicure. Stay creative, stay polished — and we’ll see you in the next nail inspiration post!
Looking for more inspiration? Check out our Nail Ideas archive for trendy looks you can try year-round!
Hashtags:
#3DNailArtTutorial #DIYNails #OrganicNailCare #NailInspiration